How do you record the wind?
Usually as a recordist, we try to eliminate the wind, because wind hitting the microphones causes a very undesired effect. That’s why we try our best to shield the mics from the wind with Rycote Windjammers and the like. Basically the fur captures the energy of the wind and disrupts it in a way that makes little or no sound, and the entire system prevents wind from entering the enclosure of the microphone and hitting the diapram. You want the wind to hit the thing you are recording, NOT the microphone.
So theoretically to capture the sound of the wind, all you need to do is cover the mic with fur and go find a place where the wind sounds nice, right? Well, almost. I’ll tell you about two scenarios. The wind in trees and The howling arctic wind.
Finding a good spot
So the first things to do if you want to record wind in general, is to get as far away from civilization as possible! You will be amazed how annoying freeways and airplanes are, when you want to capture wind. As always the main goal of the recording is to get it as clean as possible, without anything else contaminating it, and that means eliminating the backgrund buzz of cars and cities.
Prepare your day out! Go to google maps, or your favorite map service and scout the neighborhood for empty places. Preferably somewhere you can get to easily, but everyone else don’t go. Be creative. Empty abandoned places are great, because you can drive all the way there, and you will be alone. Going on a hike with your equipment, is a sure way of getting away from civilization, but it is a lot of work to carry your equipment into the wilderness, and to be frank most of us don’t have the time for that. Prep and test your gear, and bring extra batteries! You dont want to drive/trek for hours into the wild, just to find out that your microphones don’t fit your windjammer.
Going out in the middle of night, is also a good way to eliminate background noise, because everyone else will be sleeping. Just do yourself a favor, and scout the location first. You will probably be out in complete darkness and if you know the area beforehand, it makes it a lot less scary and dangerous. I tried to record out in the forrest at night, on my own, way out in the mountains, and I got so freaked out that I didn’t realize that my equipment were setup wrong, until after I was done with the session, and I got home with Mono files, where I wanted Stereo recordings.
So now you found a good place to record, but when is the wind coming? I’ve started using the windfinder service. It is a worldwide service, and I’ve had good experience with their forecasts.
Equipment
I’m using small condenser mics with low self-noise like the Schoeps CMC6 with MK4 Cardioid Capsules or if they are not available I use the cheaper but still good Røde NT5’s. Both are stereo matched with a Cardioid Polar Pattern, which helps getting a good stereo recording. I try and use mics with low self-noise, because the wind I’m hunting is not necessarily very loud. This is also why I record with a Sound Devices 702 or 722, because their preamps have very little noise. I tried recording with Zoom’s but both their onboard mics and the preamps on their XLR inputs, have too much noise for propper wind recording.
The wind in the trees
One sound that is very good for defining wind, is the wind through trees. It’s something that most people will recognize as “the sound of wind”, and when it comes to sound design, you can use the seize and sound of different trees to help mold the soundscape of your scene. You’ll have to test out different microphone positions to capture the sound you want, because the placement will yield very different results. Placing the mics close to the trees and pointing up will give you a very big and warm presence of the tree, with lots of detail from the movement. A tree with leaves and slow wind will usually yield a “happy” soundscape, but if you have too much distance to the tree, the recording will probably be too undefined, and just be very close to pink noise to be interesting. Keeping your distance with heavy wind, can give you a very big and powerful sound and the gusts will help create texture.
Recording with you microphones in XY position will give you a naturalistic stereo recording that places you next to the tree. Recording with a big A-B setup, and something like 5-6 meters of distance between the microphones gives you a huge soundscape that works well for very wide pictures and surround mixes. Experiment, and remember it’s better to go home with too much material than too little.
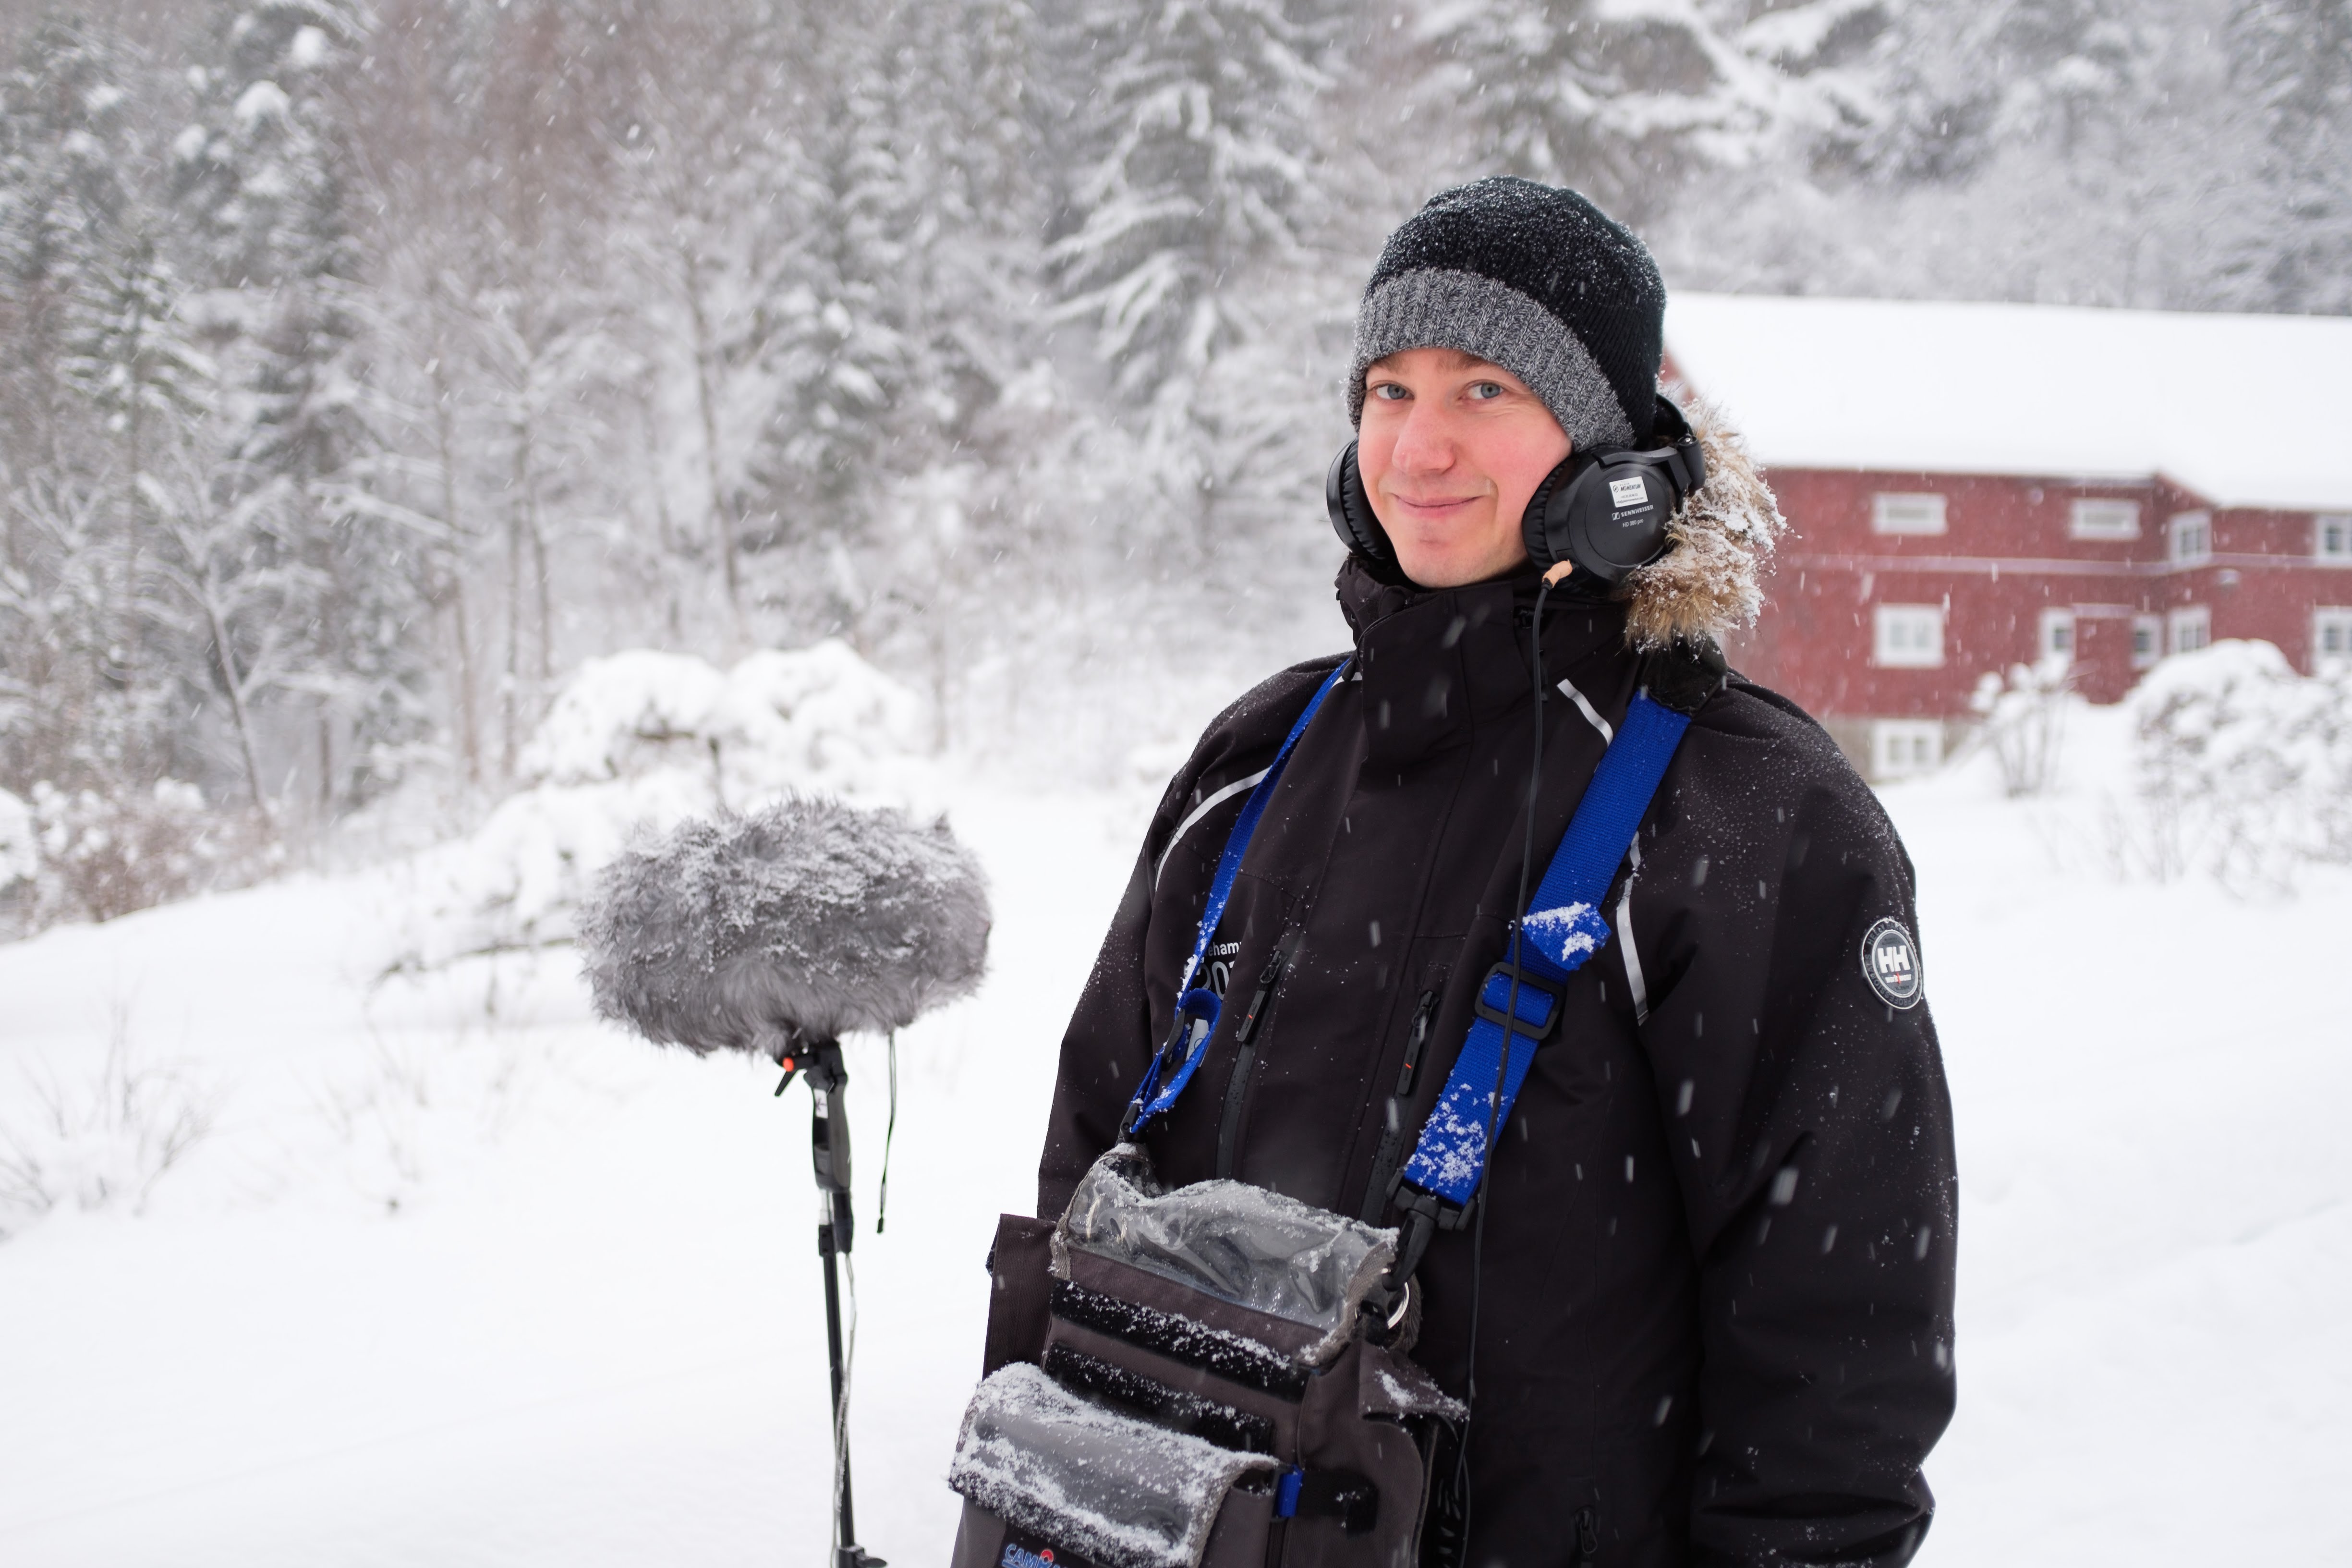
I did not have access to propper wind jammers when I was out recording the tall snowy trees you see on the picture, and all I had was the small puffs that goes on the end of the mic, shielding the actual diapram. You would think this would be fine, right? But it isn’t. The turbulence caused by the XLR jack, and the unshielded part of the mic will cause low frequency rumble and undesired noise. Best case scenario; go get propper windjammers that shield the entire microphone and suspends it in some kind of shock mound like elastics or Rycote lyres or Cinela Osix.
Worst case scenario; be creative! I’ve found that taping over the XLR eject button with some gaff tape makes it more aerodynamic, thus less rumble. Also I figured out, that if I dug holes in the snow and placed the mics down there pointing up towards the trees, the wind would go over the hole, and therefor not affect the microphone.
The Howling Arctic wind
I wanted the sound of that cold wind that gets in everywhere, and freezes you in seconds. You know the sound of it. It appears when there are gaps in a wall, or you are outside and the wind is really nasty, hitting a corner of a building, or the top of a hil. But unless you know of a place that creates that sound, and happen to be there with a recording setup when it happens, you will have to create those circumstances artificially.
With the help of Liv Sørlien from the Norwegian film school, I built this little device, that I call “The Howling Wind Witch.” It’s a piece of wood with several boards screwed in place with about 1cm gap between them. We built it so it fits into a Manfrotto Super Clamp that can be fitted onto almost any light stand. With another Super Clamp I attached a Magic Arm with a stereo bar to the rig.
I attached small pieces of string to either side of the rig, so I can easily position it directly into the wind, by judging the direction of the flying string.
The sound this rig creates it very nice, and it works even though the wind isn’t very strong. Because the sound is very low volume with little wind, you need the microphones quite close, and turn the gain way up. Just remember to get a STURDY light stand with sand bags, because the wind will blow this over if you raise it up four meters into the air! Trust me.
Hollywood Wind
The idea of creating you own wind noise machine is nothing new, and is a great way of designing you own sound.
This is how they did it when they recorded the movie Twister:
To capture a variety of wind sounds, Flick contracted field recordist Ken Johnson to design and build a special device, christened “The Professor Marvel Incredible Wind Machine,” that could be mounted in the bed of a pickup truck. Comprising a sturdy frame lined with foam and carpet padding to deaden the truck vibrations, various sound-making slats, wires and other devices could be added to produce different noises as they were pulled through the air. Johnson used a pair of crossed X-Y Schoeps CMC4 microphones with windsocks.
Then, while driving the this mobile “Aeolian Harp” around various locations throughout the Mojave Desert, north-east of Los Angeles, the field recordist could capture different sounds as the breeze made a variety of fishing lines, wires and other filaments create exotic wind “whirs.” Jars, bottles and similar open containers mounted at various heights above the box frame were also used to create resonant sounds, plus slats and arms that could be extended to either side of the pickup body to produce whirring sounds. (Just in case you missed the arcane reference, “Professor Marvel” was the kindly traveling wizard who became The Wizard of Oz; recall also that Dorothy and Toto were transported from Kansas aboard a tornado in the classic movie. So it goes.)


